Step 1
Set your story boundaries
Add your idea, genre, established facts, and intended ending. Manual editing needs no API key.
Step-by-step guide · Browser app
Develop a story premise, compare alternatives, and approve the direction you want to outline.
Check price and access →Step 1
Add your idea, genre, established facts, and intended ending. Manual editing needs no API key.
Step 2
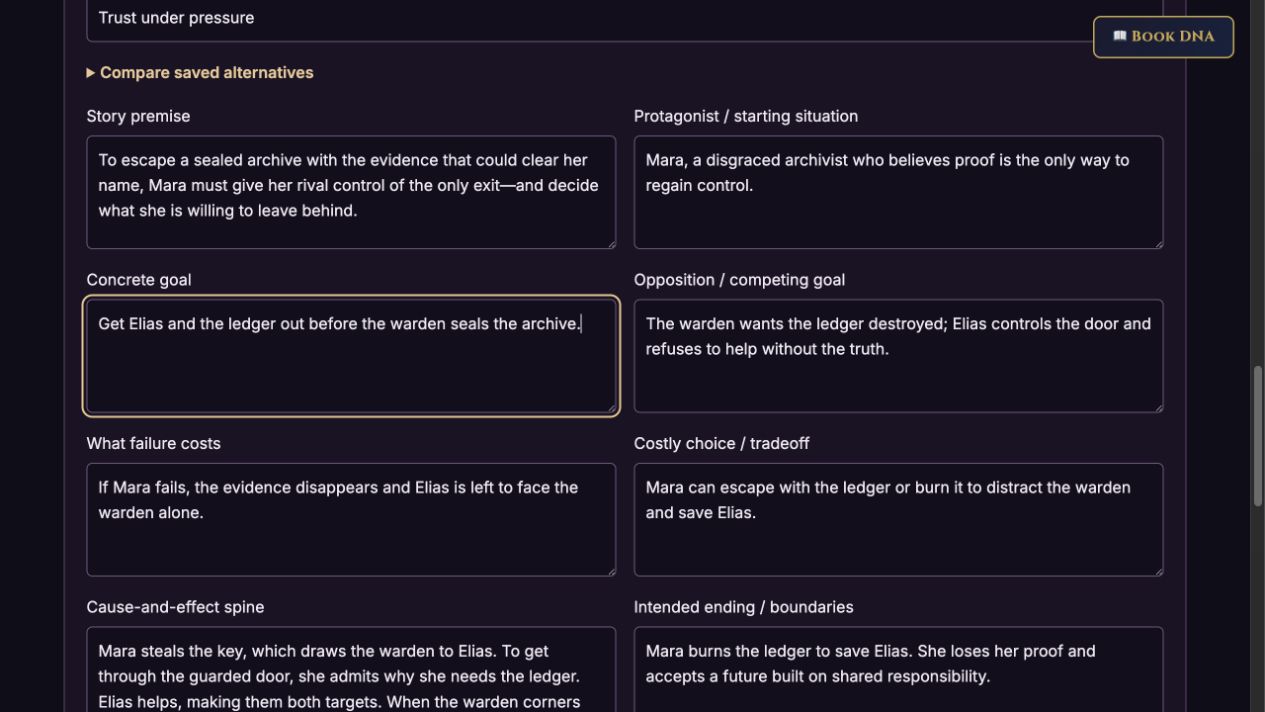
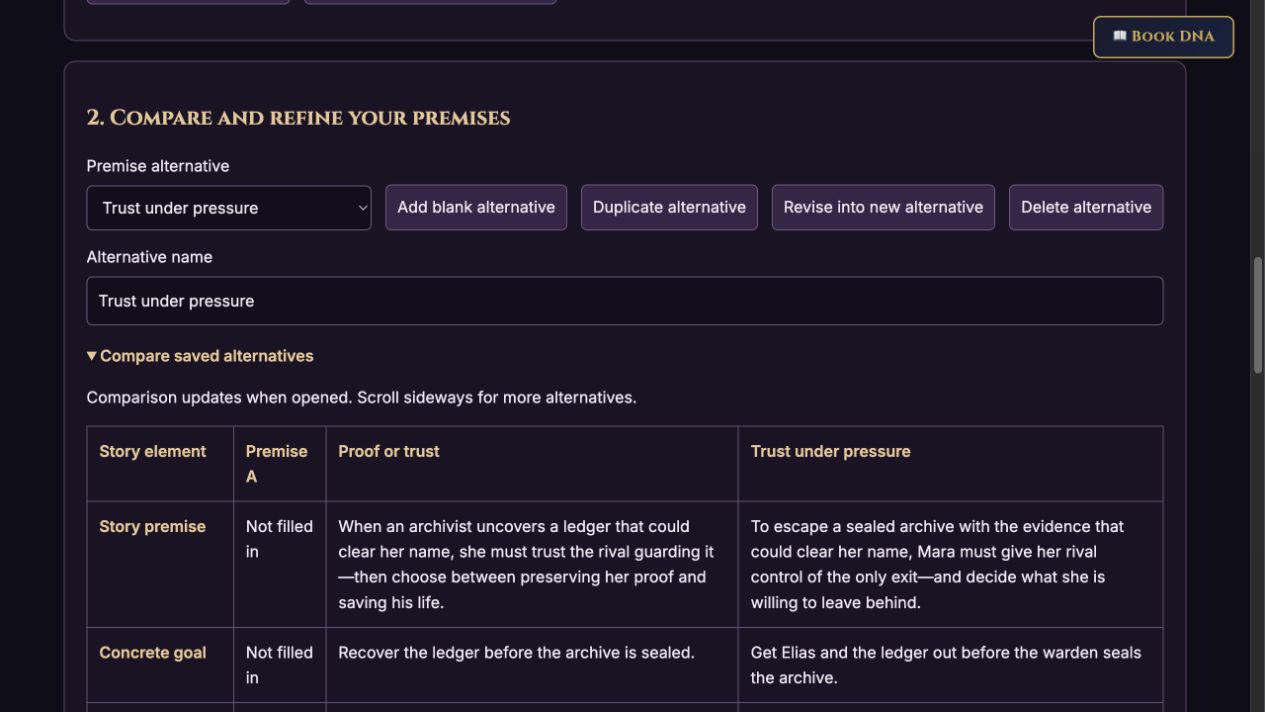
Explore the protagonist’s goal, opposition, stakes, costly choice, and cause-and-effect spine. Keep earlier directions as you revise.
Step 3
Approve a reviewed snapshot, export Markdown, or optionally import an approved brief into Outline Expander.
Editable premise alternatives, a cause-and-effect story spine, positioning notes, and an approved brief.
Review the result against your source and intended use. Keep a backup before changing devices or replacing a saved project.
Use Outline Expander after approving the premise. Story Premise Architect is a separate installable workflow.
Return to product and access details →